How to add a reading progress bar in Ghost CMS
You know those cool bars at the top of an article that show you how much you've read? That's what I'll be covering in this tutorial.
I'll be showing you two different ways to do this. The first method is super simple, just copy, paste, and you're done! There's no coding experience needed for this method.
And the second method is for those who are comfortable editing their Ghost theme files and know their way around the code.
So let's jump into it, starting with the simple method.
Method 1: The Simple Way
First, head over to your Ghost admin panel. If you aren't sure how to access it, in your browser type your domain with /ghost at the end. This should bring you to a login screen if you aren't already logged in.
Once you're logged in:
- Click into "Settings" in the sidebar
- Scroll down until you see Code Injection (or you can type "Code Injection" in the search bar and it should appear)
- Open Code Injection
Now, this will open up a code editor for you to add the code we will be working with.
Look for the "Site Header" box, and paste this code in there:
Method One Code
<style>
.reading-progress {
    position: fixed;
    top: 0;
    z-index: 999;
    width: 100%;
    height: 5px;
    background: #c5d2d9;
    -webkit-appearance: none;
    appearance: none;
}

.reading-progress::-webkit-progress-bar {
    background-color: transparent;
}

.reading-progress::-webkit-progress-value {
    background: var(--ghost-accent-color);
}
</style>

<script>
document.addEventListener('DOMContentLoaded', function() {
    if (document.body.classList.contains('post-template')) {
        const progressBar = document.createElement('progress');
        progressBar.className = 'reading-progress';
        progressBar.value = 0;
        progressBar.max = 100;
        progressBar.setAttribute('aria-label', 'Reading progress');

        document.body.insertBefore(progressBar, document.body.firstChild);

        function updateProgress() {
            const totalHeight = document.body.clientHeight;
            const windowHeight = document.documentElement.clientHeight;
            const position = window.scrollY;
            const progress = position / (totalHeight - windowHeight) * 100;
            progressBar.value = progress;
            requestAnimationFrame(updateProgress);
        }

        requestAnimationFrame(updateProgress);
    }
});
</script>
Now if you have code in there already (maybe you have a Google Analytics code in there), just paste the code below it.
Click that "Save" button at the top right.
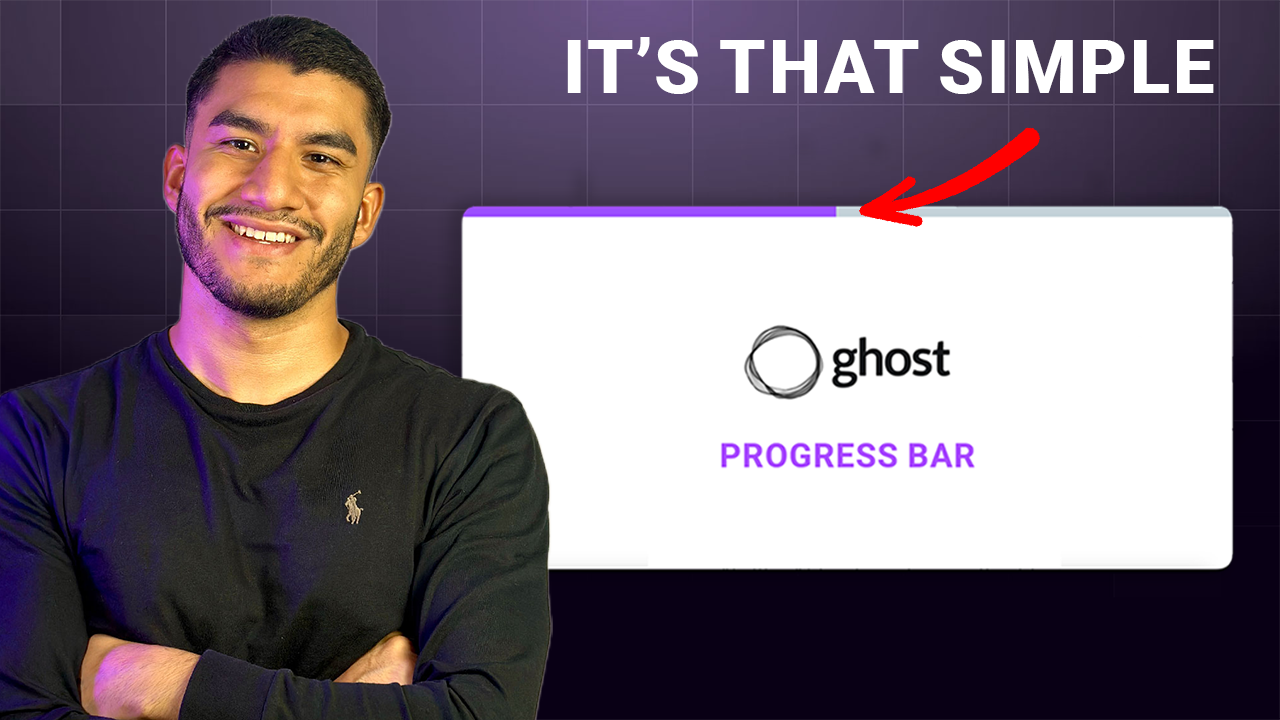
And that's it! Let's go ahead and check it out. Go to any of your blog posts and you should now see that progress bar at the top.
Easy, right?
Method 2: Theme Integration
Now, this method should work with any Ghost theme. However, if for some reason it doesn't work with your theme, or you prefer to add these changes directly to your Ghost theme's files, then you might want to try out this second method.
In the second method, we will be adding this code to your theme's codebase. Which means, you have to have some knowledge on how to edit your Ghost theme.
I'm assuming you already know how to make these changes to your theme's code and how to re-upload your theme. However, if you're not familiar with editing Ghost themes yet, I'd recommend sticking with the first method.
Here's what you need to do:
- Go to your theme's files and open your post.hbs
- Look for the line at the very top that says
{{!< default}} - Right after that, paste this code:
Progress Bar HTML
<progress class="reading-progress" value="0" max="100" aria-label="Reading progress"></progress>Next, we need to add some styles. Scroll all the way down in your post.hbs file and paste this code towards the very bottom:
Progress Bar CSS and Javascript
<style>
.reading-progress {
    position: fixed;
    top: 0;
    z-index: 999;
    width: 100%;
    height: 5px;
    background: #c5d2d9;
    -webkit-appearance: none;
    appearance: none;
}

.reading-progress::-webkit-progress-bar {
    background-color: transparent;
}

.reading-progress::-webkit-progress-value {
    background: var(--ghost-accent-color);
}
</style>

<script>
const progressBar = document.querySelector('.reading-progress');

function updateProgress() {
    const totalHeight = document.body.clientHeight;
    const windowHeight = document.documentElement.clientHeight;
    const position = window.scrollY;
    const progress = position / (totalHeight - windowHeight) * 100;
    progressBar.setAttribute('value', progress);
    requestAnimationFrame(updateProgress);
}

requestAnimationFrame(updateProgress);
</script>
Make sure to save. You should be able to see if it's working in your localhost.
Go to an article in your localhost. If you see the progress bar, that means everything is working!
Go ahead and zip your theme and upload it to your Ghost Admin portal.
Customizing Your Progress Bar
Want to customize it further? Here's how you can do it.
The default color will be the color you are using in your Ghost Admin Panel.
However, if you want to change it, you can change this line of code:
background: var(--ghost-accent-color);
to whatever color you want, like this background: red;
Want to change the height? Just change this line of code:
height: 5px;
to how tall or short you want the bar to be, like this:
height: 5px;
Make sure to save and play with the settings until you get something you like.
And that's it!
You should now have a progress bar showing your readers exactly where they are in your articles.